
AWS Account setup
Guide to Creating Your AWS Account
Requirements:
An email address to register and receive a verification code.
A credit or debit card with at least $1–$2 available. AWS will temporarily charge this small amount to verify your card, but it will be refunded after verification. If you don’t want to use your main card, you can use a virtual or temporary card — several mobile apps offer this option depending on your country.
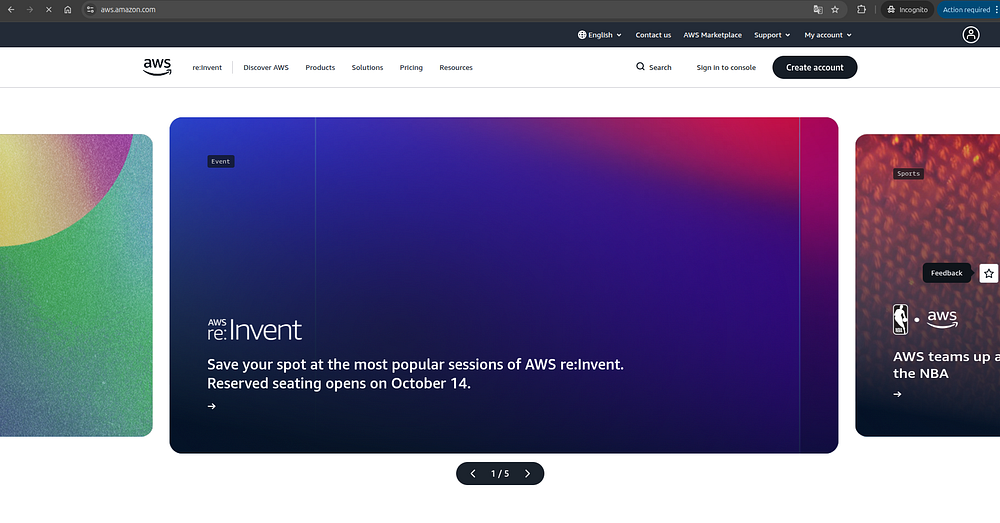
Go to aws.amazon.com and click “Create account” in the top-right corner.
Press enter or click to view image in full size
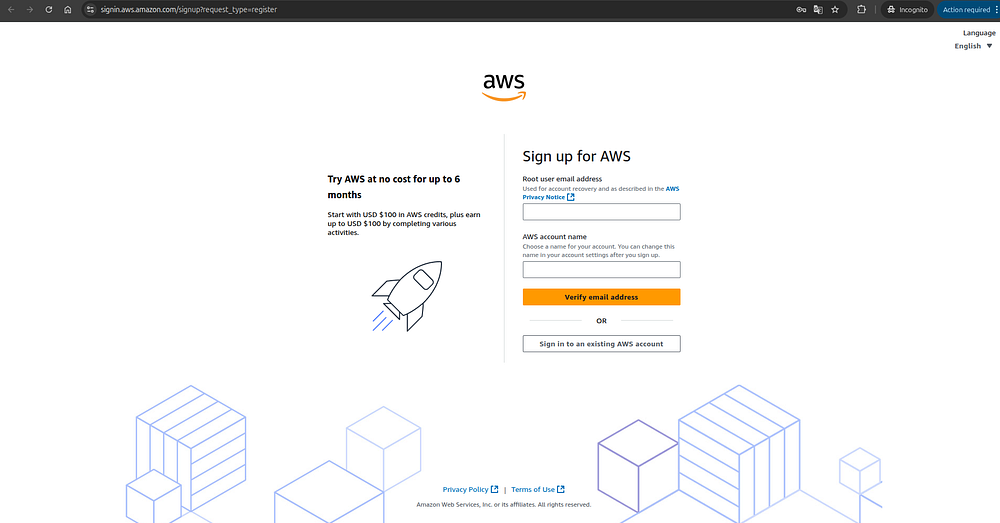
2. Fill in the required fields by entering your email address and choosing a name for your account, then click “Verify email address.”
Press enter or click to view image in full size
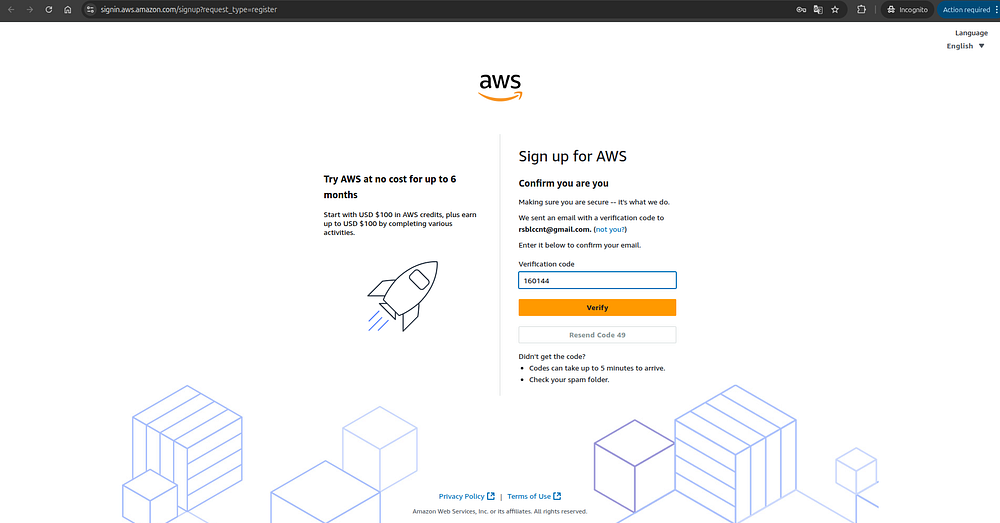
3. Check your email inbox — you’ll receive a message from AWS containing a verification code to confirm that the email address belongs to you. Enter the code in the “Verification code” field and click “Verify.”
If you don’t see the email after a few minutes, check your spam or junk folder, as it may have been filtered there.
Press enter or click to view image in full size
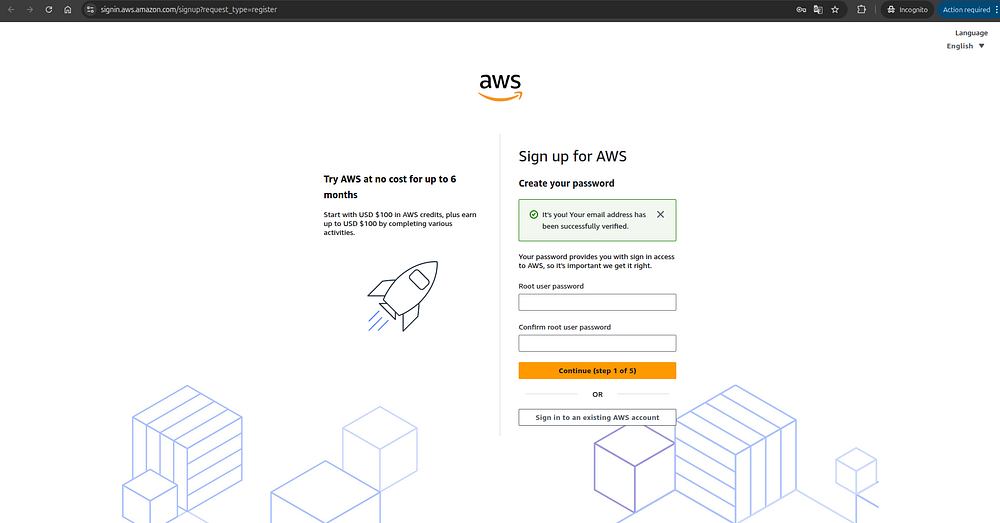
4. Set a password for your root user. Make sure to choose a strong and secure password, since the root user is the main account owner and has full privileges to perform any action — including creating resources that, if misused, could lead to unexpected charges of thousands of dollars. Once you’ve created your password, click “Continue.”
Press enter or click to view image in full size
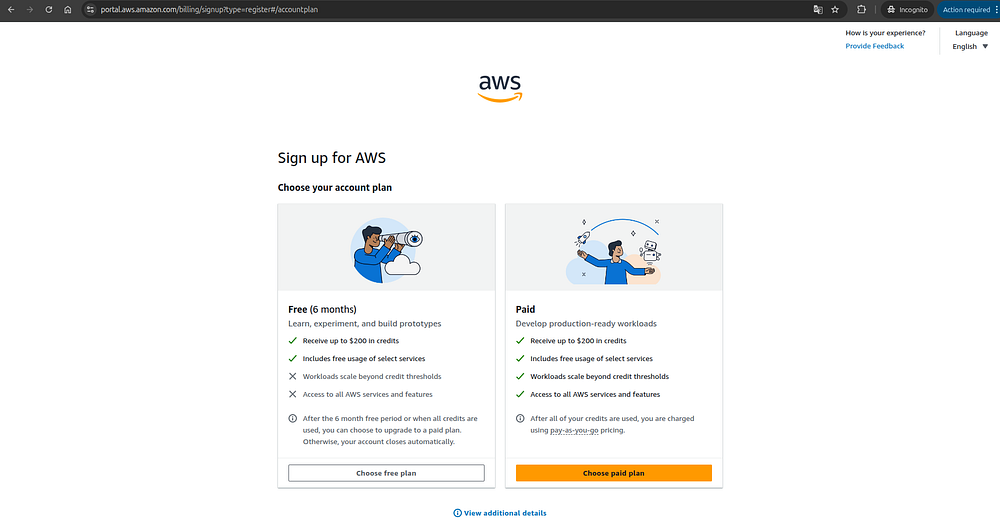
5. At this stage, you’ll need to choose a plan. For this tutorial, select the Free plan on the left. This plan gives you access to a generous set of free-tier services, along with $100 in AWS credits that you can use from the moment your account is created and for up to six months thereafter.
Press enter or click to view image in full size
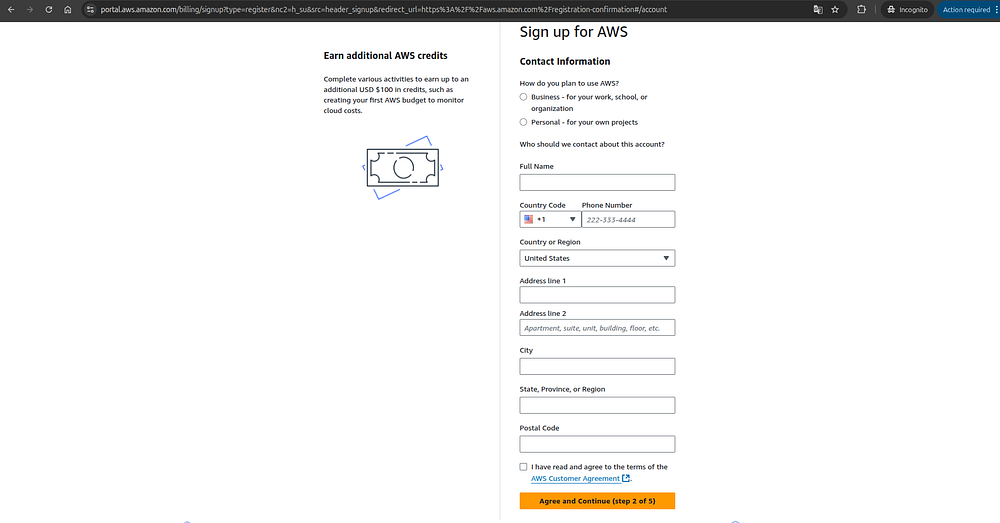
6. Now it’s time to fill out your personal information. Enter your name, phone number, country, address, city, and postal code. Then, check the box that says “I have read and agree to the terms of the AWS Customer Agreement,” and click “Agree and Continue.”
Press enter or click to view image in full size
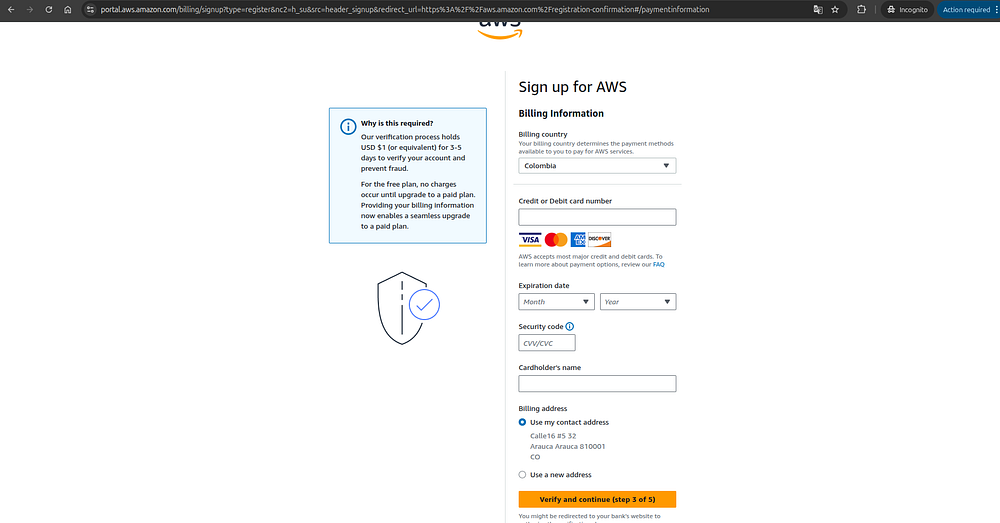
7. Next, enter your credit or debit card information, accept the terms, and click “Verify and Continue.”
Press enter or click to view image in full size
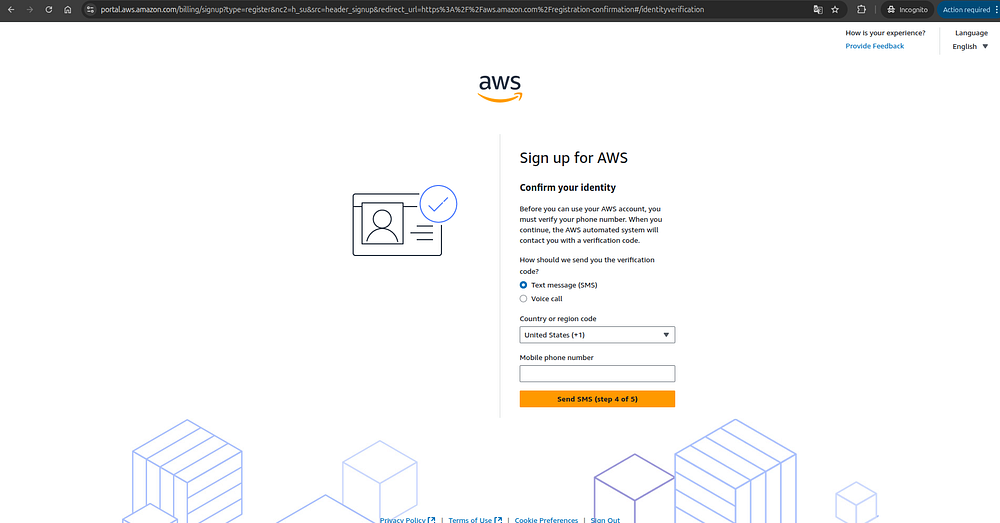
8. Now add your phone number. First, select your country code, then enter your phone number, and finally click “Send SMS.”
Press enter or click to view image in full size
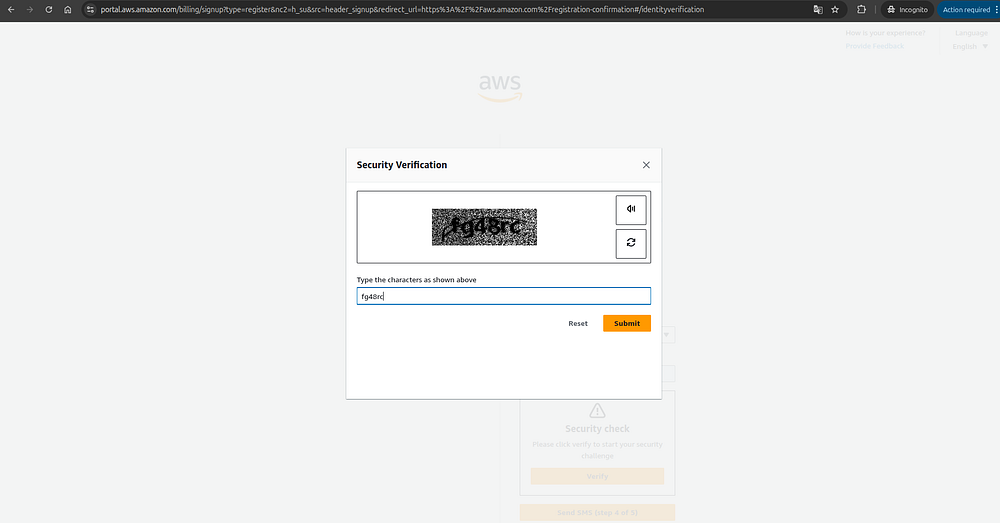
9. You’ll now see a captcha — this may vary. In my case, it displayed a hard-to-read text. Enter the text into the field provided and click “Submit.”
Press enter or click to view image in full size
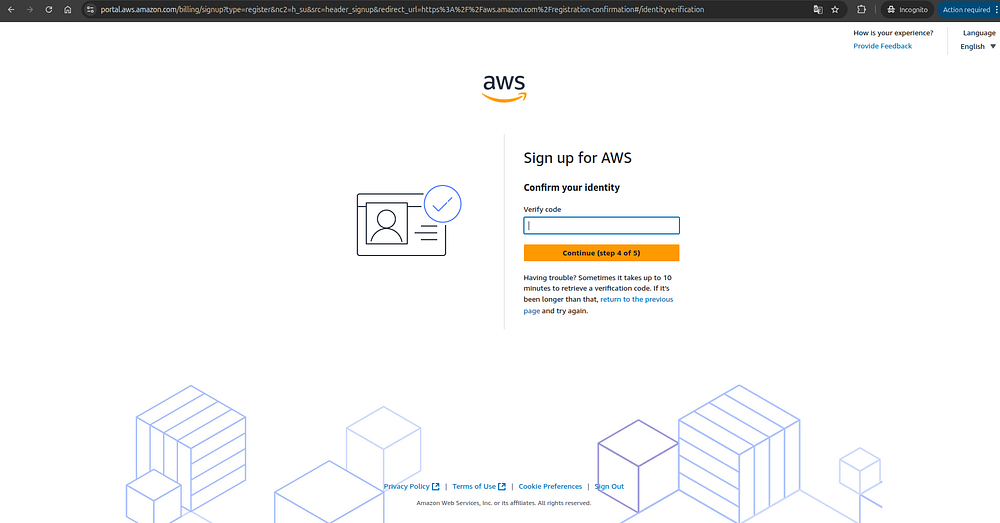
10. You’ll receive a verification code on the phone number you provided. Enter the code in the “Verify code” field and click “Continue.”
Press enter or click to view image in full size
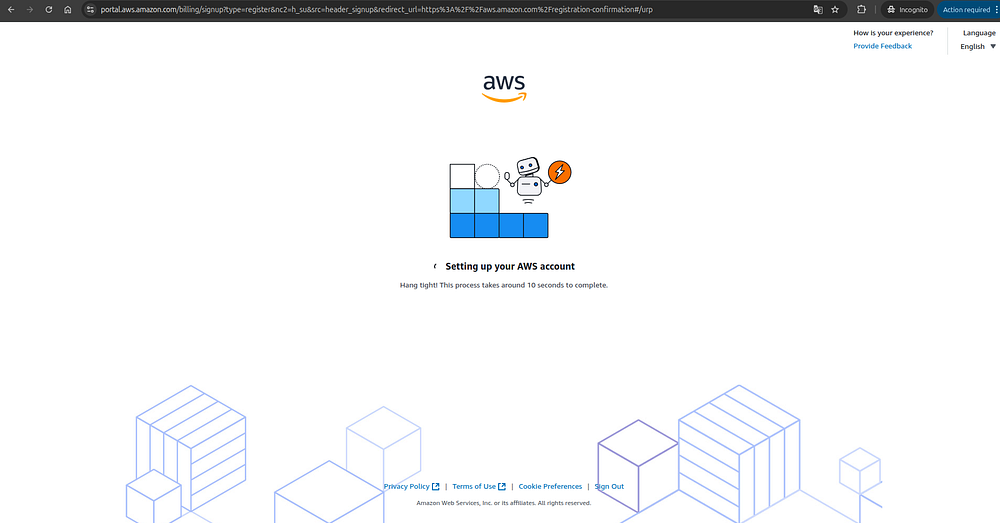
11. All the steps are now complete! Just wait a few seconds, and your AWS account will be ready to use.
Press enter or click to view image in full size
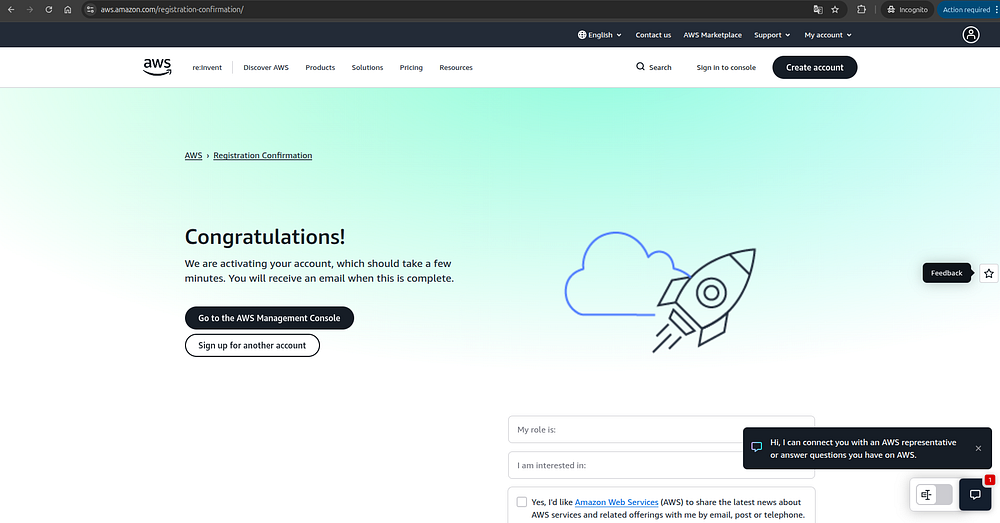
12. When the congratulations screen appears, click “Go to the AWS Management Console.”
Press enter or click to view image in full size
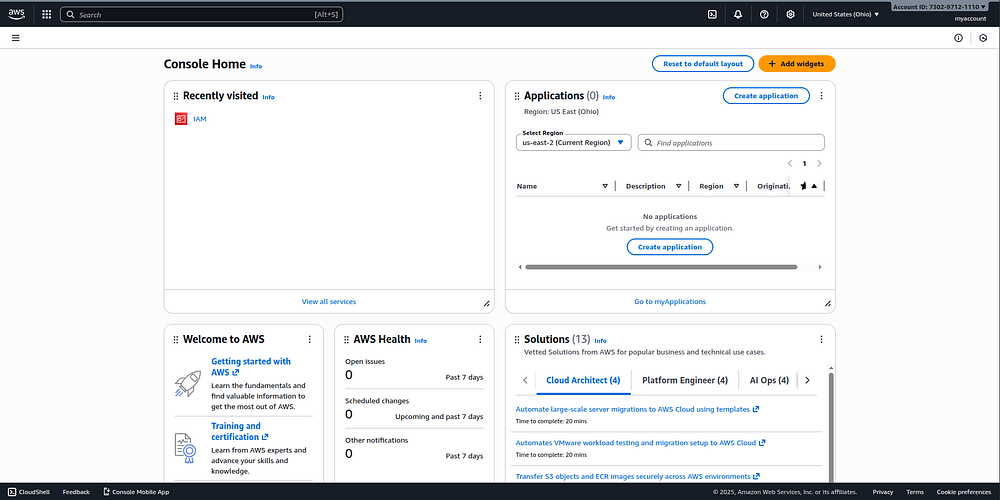
That’s it! 🎉 You now have your AWS account ready to start using AWS services. You’re currently viewing the AWS Management Console, where you can create, manage, and explore your own cloud resources within AWS.
Press enter or click to view image in full size
Congratulations on reaching the end of this guide!
You’ve successfully created your own AWS account — the essential first step to start exploring and using Amazon Web Services.
Last updated